How to Wire a Subpanel
If you're looking to add new circuits or expand your electrical capacity for your home or business, you may need to install a subpanel. A subpanel is a smaller electrical panel that is connected to your main panel and allows you to distribute power to specific areas of your home or building. We always recommend having a licensed electrician do electrical work, however, if you're wanting to learn how to wire a subpanel, this step-by-step guide can help.
Proper wiring is crucial for the safe and effective installation of a subpanel– that’s why our residential and commercial electricians at MSS Ortiz are here to guide you through the process of installing a subpanel. When learning how to wire a subpanel, it’s important to know why it might be necessary as well as the proper way to wire for safety.
Whether you're a DIY enthusiast or looking to hire a professional subpanel wiring technician, this guide will provide you with the knowledge you need to successfully install a subpanel in your home or building.
What is a Subpanel?
A subpanel, also known as a subcircuit panel or subdistribution panel, is a smaller electrical panel that is connected to the main electrical panel in a building. It is used to distribute power to specific areas or circuits of the building and is typically installed in a location that is separate from the main panel. Subpanels are often necessary when there is not enough space or capacity in the main panel to accommodate additional circuits or electrical loads.
By learning how to wire a subpanel, you can increase the electrical capacity of your home or building and distribute power more efficiently to specific areas or circuits. Proper wiring is crucial for the safe and effective installation of a subpanel.
Why Wire a Subpanel for Your Home or Business?
Wiring a subpanel for your home or business can be necessary for a number of reasons. Here are some of the main reasons why you might consider wiring a subpanel:
- Electrical capacity: If you find that your existing electrical panel is not providing enough capacity to meet your electrical needs, a subpanel can be installed to provide additional capacity. This can be particularly useful if you have added new appliances or electronics to your home or business.
- Convenience: A subpanel allows you to distribute power more efficiently to specific areas or circuits of your home or business. This can make it more convenient to control and manage the electrical system in your building.
- Code compliance: In some cases, electrical codes require that a subpanel be installed in certain situations. For example, if you are adding an addition to your home or business, you may need to install a subpanel to meet code requirements.
- Safety: A subpanel can help to reduce the risk of electrical overload, which can cause fires or other electrical hazards. By distributing power more efficiently, you can reduce the likelihood of overloading a particular circuit or area.
Wiring a subpanel can be a necessary step to ensure that your electrical system is safe, efficient, and meets the needs of your home or business. Proper wiring is crucial for the safe and effective installation of a subpanel, so be sure to consult with a qualified Durham area electrician if you are unsure about any aspect of the subpanel wiring process.
Part One: Gather Materials and Tools
It's important to choose the right materials and tools for the job to ensure that the subpanel is wired safely and correctly. If you're unsure about which materials and tools to use or how to proceed, consult with an experienced subpanel wiring specialist for guidance.
Here's a breakdown of what materials you'll need to get started wiring a subpanel:
- Subpanel: Choose a subpanel that is the right size and capacity for your needs. Make sure it is compatible with your main panel and meets local electrical codes and regulations.
- Circuit breakers: Choose the appropriate circuit breakers for the subpanel, based on the electrical load and the number of circuits you plan to add.
- Wire: Choose the right type and gauge of wire for the electrical load and distance from the main panel to the subpanel. Copper wire is recommended for subpanel wiring.
- Grounding rod: The grounding rod is connected to the grounding wire of the electrical system, which provides a safe path for electrical current to flow in the event of a fault or electrical surge.
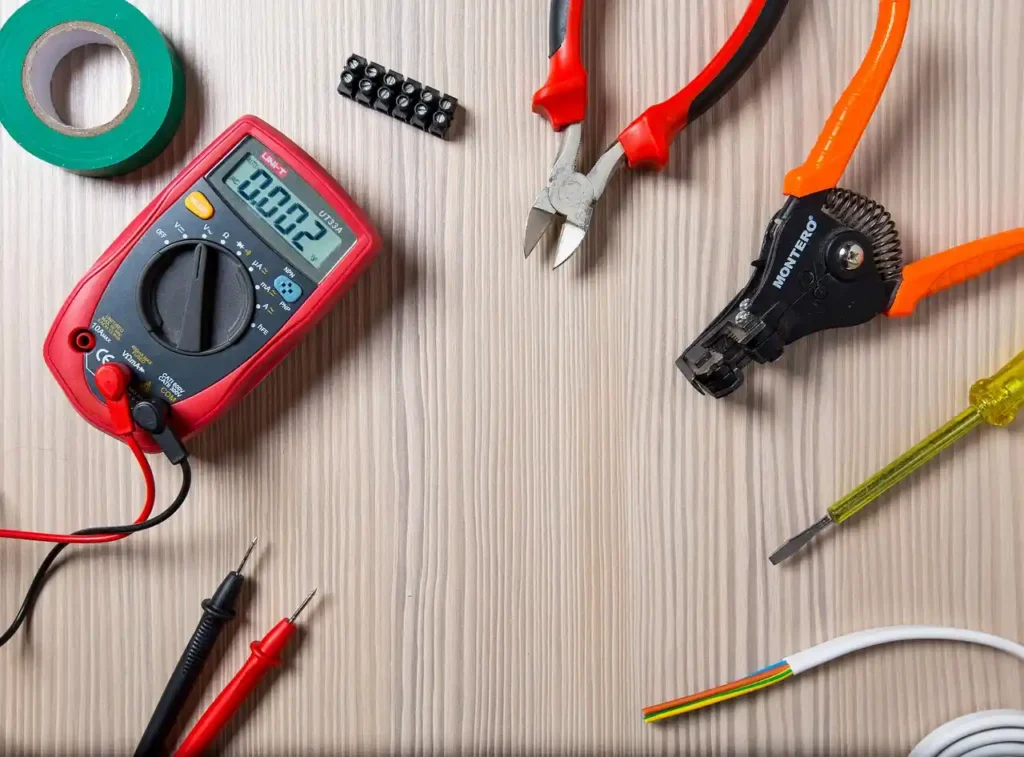
In addition to the above materials, you should have the following tools on hand if you plan to learn how to install a subpanel for your home or business:
- Screwdrivers
- Wire strippers
- Wire cutters
- Pliers
- Voltage tester
- Measuring tape
Part Two: Plan and Prepare
Before you begin wiring a subpanel, it's important to plan and prepare for the installation. By planning and preparing properly, you can ensure that the subpanel is installed safely and effectively. Additionally, it is important to choose the right location, size, and components for the subpanel to ensure that it can handle the electrical load and operate safely.
Determine the Location and Size of the Subpanel
Choose a location that is easily accessible and allows for proper ventilation. The size of the subpanel should be based on the electrical load that it will need to handle.
Calculate the Electrical Load and the Number of Circuits Needed
Determine the electrical load that the subpanel will need to handle, based on the electrical devices and appliances that will be connected to it. You can use a load calculation worksheet to help with this process. Once you have determined the load, you can plan the number of circuits and breakers that will be needed. Make sure that you do not overload the subpanel by trying to connect too many devices to it.
Choose the Right Wire Gauge
The wire that you use to connect the subpanel to the main panel should be the right gauge and type for the electrical load and the distance between the two panels. The wire should be copper, as it is a good conductor of electricity. The gauge of the wire should be based on the load and distance, and you can use an electrical wire size calculator to help determine the right gauge.
Turn the Power Off
You should turn off the electrical current before beginning any work on the subpanel installation and wiring. This includes turning off the power to the main panel and any other electrical components that are connected to the same circuit. You should also use a voltage tester to ensure that there is no electrical current running through the wires before beginning work. It is important to take the necessary safety precautions when working with electricity to prevent electrical shock, fires, or other hazards. Turning off the power is a crucial step in ensuring the safety of the installation process.
Part Three: Install the Subpanel
Once you have gathered the necessary materials and planned and prepared for the installation of your subpanel wiring, you can begin installing the subpanel itself. By following these steps carefully, you can DIY install the subpanel safely.
Mount the Subpanel in the Chosen Location
Choose a location for the subpanel that is easily accessible and allows for proper ventilation. Mount the subpanel to the wall or surface using the appropriate screws or mounting brackets.
Connect the Grounding Wire and Rod
Connect the grounding wire from the subpanel to the grounding rod. The grounding wire should be connected to the grounding bar in the subpanel and the grounding rod should be installed vertically into the ground outside the building. This provides a direct electrical connection between the electrical system and the earth, which helps to protect against electrical hazards.
Run the Wires from the Main Panel to the Subpanel
Use the appropriate wire gauge and type to run the wires from the main panel to the subpanel. The wires should be run through conduit or wiring channels to protect them from damage. Make sure that the wires are cut to the appropriate length and stripped of insulation before connecting them to the subpanel.
Install the Circuit Breakers
Install the appropriate circuit breakers in the subpanel based on the number of circuits and the electrical load that the subpanel will handle. Make sure that the circuit breakers are compatible with the subpanel and the electrical devices that will be connected to it.
Part Four: Connect the Wires
After you have installed the subpanel and run the wires from the main panel, the next step is to connect the wires to the subpanel. If any part of the subpanel wiring process is met with uncertainty or you cannot seem to get things connected properly, it’s important to seek the guidance of an expert in subpanel wiring from our team at MSS Ortiz. When it comes to electrical wiring, it can be dangerous and hazardous if not completed correctly by someone with knowledge in electrical wiring. Our subpanel contractors are here to help you with any step of your process.
Strip the Ends of the Wires and Connect Them to the Circuit Breakers
Use wire strippers to remove the insulation from the ends of the wires. Connect the wires to the appropriate circuit breakers in the subpanel. The hot wires should be connected to the breaker terminals and the neutral wires should be connected to the neutral bar. The circuit breakers should be securely fastened to the subpanel using screws.
Connect the Neutral and Ground Wires to their Respective Bars
Connect the neutral wire to the neutral bar in the subpanel. The neutral bar is typically located on the left side of the panel and is usually marked with a white or gray color. Connect the ground wire to the ground bar in the subpanel. The ground bar is typically located on the right side of the panel and is usually marked with a green color.
Connect the Hot Wires to the Appropriate Breakers
Connect the hot wires to the appropriate circuit breakers in the subpanel. The hot wires should be connected to the breaker terminals and should be color-coded according to local electrical codes and regulations. Red and black wires are typically used for hot wires. If you are unsure of the wiring for your subpanel, contact a locally licensed electrician for guidance.
Part Five: Test Connections and Turn the Power On
The final step of subpanel wiring is to test the connections and turn the power on. Check all of the connections in the subpanel to make sure they are secure and properly grounded. Double-check that all of the circuit breakers are properly installed and securely fastened. Then, inspect the wires to make sure they are not loose or damaged.
Once you've confirmed that all of the connections are secure, you can turn on the main power. Use a voltage tester to check that the subpanel is receiving power. Test each circuit by turning on the appropriate breaker and checking that the corresponding electrical device is working properly. If you notice any issues, turn off the power and double-check the connections again. By testing the connections and turning on the power, you can ensure that the subpanel is wired safely and properly working.
Schedule a Consultation with Our Subpanel Wiring Electricians Today!
Whether you need a subpanel installed for increased electrical capacity or for more convenient power distribution, our team of Raleigh-Durham electricians can help. We'll work with you to determine the best location and size for your subpanel and will help you choose the appropriate components and wiring to ensure that your subpanel is effective, safe, and operating smoothly.
Don't risk the safety and reliability of your electrical system by attempting to install a subpanel yourself. Trust the experts at MSS Ortiz for all of your subpanel wiring needs.
Contact a subpanel wiring and installation specialist today by calling (919) 382-0832 or filling out our contact form below.