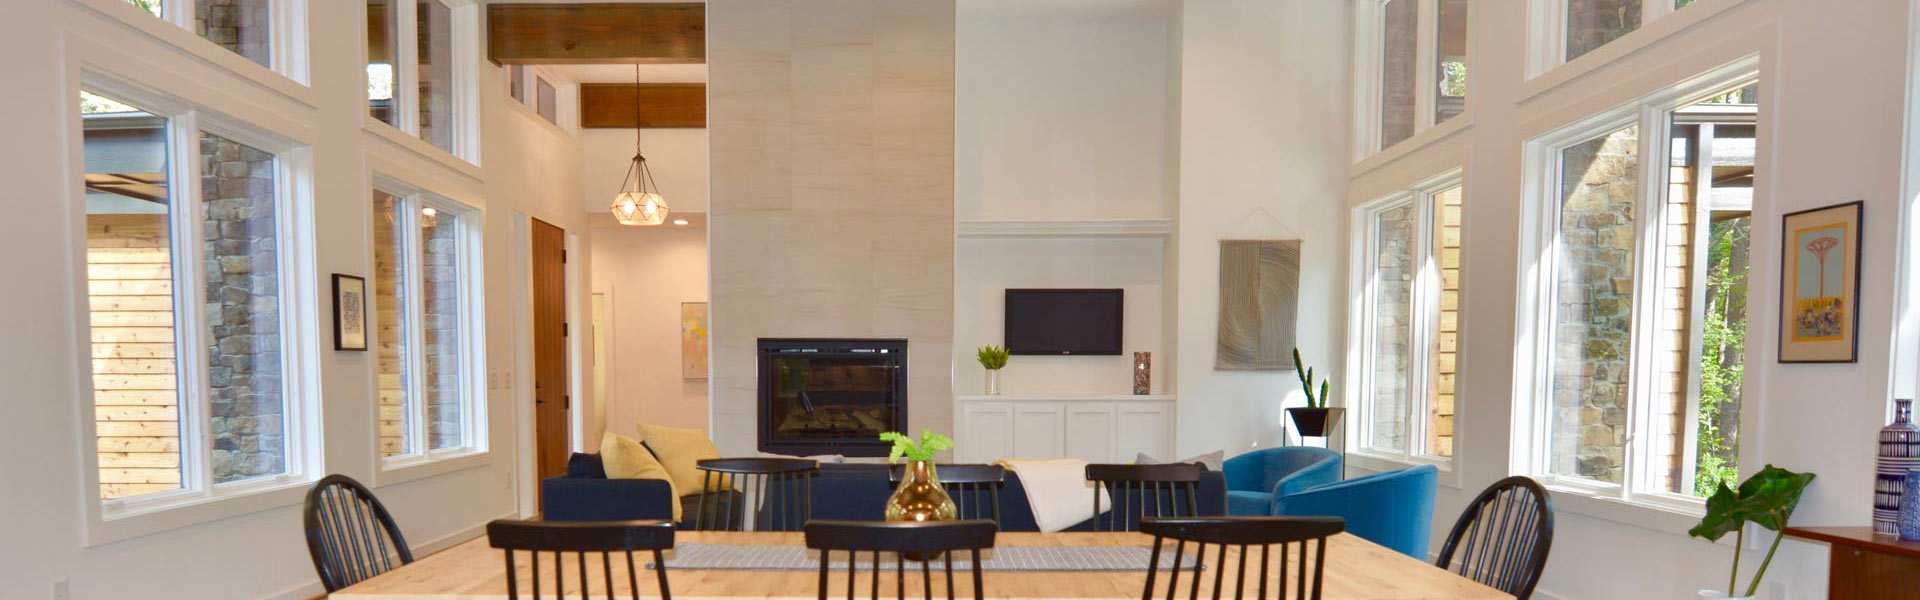
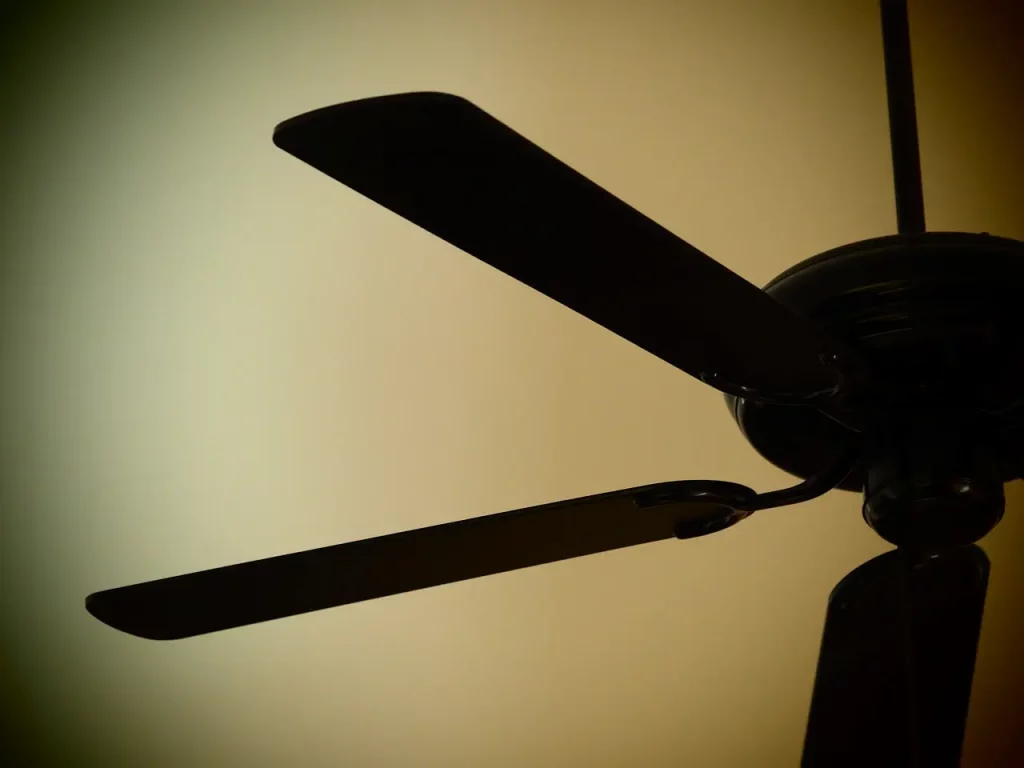
How to Remove a Ceiling Fan
Most ceiling fans only have 10-year lifespans, which means at least once a decade you may find yourself on top of a ladder in your bedroom wondering how to remove the fan. If you need to learn how to remove a ceiling fan safely, read this guide or contact a licensed electrician near you. Once your ceiling fan is removed, you'll also need to know how to wire a ceiling fan, and how to install a ceiling fan. So it may be best to hire an electrician near you.
While it’s always a good idea to enlist the help and guidance of experts who install ceiling fans for a living like the electricians at MSS Ortiz of Durnham-Raleigh, we know that sometimes it’s fulfilling to complete DIY projects at home on your own. That’s why our team of specialists in ceiling fan installations has put together this guide for how to remove a ceiling fan. If it’s time to replace your existing ceiling fan, you’ll need to know that can safely and effectively remove your old one first.
Before Removing a Ceiling Fan: Shut Down the Power
Whenever you work with electric components anywhere in your home, it’s important to cut the power current going to that location. At your home’s main circuit breaker, shut down the power that runs to the ceiling fan you are planning to remove. Test light switches and wires with a voltage tester before removing any wire components from the fan.
Remove Components of the Ceiling Fan
A ceiling fan includes many components that need to individually be removed in pieces prior to fully removing the entire fan. Let’s break down the order in which you should remove the pieces of a ceiling fan.
Remove Ceiling Fan Light Bulbs
If your ceiling fan includes light bulbs or globes, your first step in removing components from your old ceiling fan is to remove these. If lights were recently on, it’s a good idea to allow them time to cool before taking the bulbs out of the fixture. Now, carefully remove the globe and light bulbs, setting them aside to reuse if still usable.
Remove the Light Kit from Your Ceiling Fan
Investigate which screws are attaching the light kit to the ceiling fan and carefully unscrew them. Set the screws aside and carefully lower and remove the kit from the fan, having a friend or family member assist you if possible. Also, disconnect any wiring if some exist between the light kit and the fan, but be sure to check with a voltage tester prior to doing so.
Remove Ceiling Fan Blades
Using a screwdriver, remove each blade bracket from the ceiling fan base.
Remove the Ceiling Fan Canopy and Downrod
If your ceiling fan has a downrod, remove it along with the ceiling fan canopy. Some ceiling fans have decorative covers that will hide the screws, so remove any covering first, then carefully and strategically unscrew the canopy and downrod, being sure not to completely unscrew these components because you want to avoid anything falling and hitting your face, head, or body. You also want to avoid any wires being pulled from the ceiling or hitting anyone else in the room who is down below.
Detach the Ceiling Fan Wires
First, check that no electricity is running to the wires with a voltage tester. Once you are certain the wires are safe to touch, take the plastic caps off the wire ends and detach the ceiling fan’s wires from the wires in the ceiling by uncoiling the copper ends that you attached when you did the ceiling fan wire installation.
Do not leave wires hanging without covering the copper ends, even with the power shut down. Be sure to replace the wire caps over the ends of the hanging ceiling wires, or you can opt to cover them with electrical tape.
Remove the Body of the Ceiling Fan
Pull the body of the ceiling fan down carefully, enlisting the help of a friend to spot you because ceiling fans can weigh up to 50 pounds. While on a ladder, holding a fan and carefully lowering it to the ground might need assistance! If your old ceiling fan has chain attachments or any other connections to the ceiling, fan bracket, or other components, carefully unscrew and detach those and bring the fan to the floor to rest.
Remove the Mounting Bracket
Your final step in learning how to remove a ceiling fan is to remove the mounting bracket. Even if you are installing a new ceiling fan in its place, your new fan probably comes with a mounting bracket of its own. If it does not come with its own, and it fits your existing attachment, this step can be skipped.
A mounting bracket for a ceiling fan or any other lighting fixture is attached to the ceiling’s electrical box with a series of screws. Using a screwdriver, carefully remove the brackets from the electrical box. You can always reattach the screws to the electrical box in the ceiling to use with your new ceiling fan’s mounting bracket.
Install Your New Ceiling Fan or Lighting Fixture
Now that you’ve learned how to remove a ceiling fan, it’s time to install your new fan or lighting fixture. If you need help with how to install a ceiling fan, contact the professional team of electricians at MSS Ortiz so we can help.
Contact Our Ceiling Fan Electricians in NC
Serving clients in the Raleigh, Durham, and Greensboro areas of North Carolina for decades, MSS Ortiz’s knowledgeable and skilled electricians in ceiling fan installations are available to help you remove an old ceiling fan and prepare for the installation of a new one.
Our residential electricians have helped homeowners in Apex, Pittsboro, Holly Springs, Cary, Garner, and more remove, wire, reconfigure, and install ceiling fans. Additionally, we provide services to other electrical components in your home.
If you are in need of a professional, locally-owned company whose electricians are talented, operate with safety, and are skilled in all areas of electrical work, contact us today at (919) 382-0832 or by filling out our form to get started so we can come service your home.